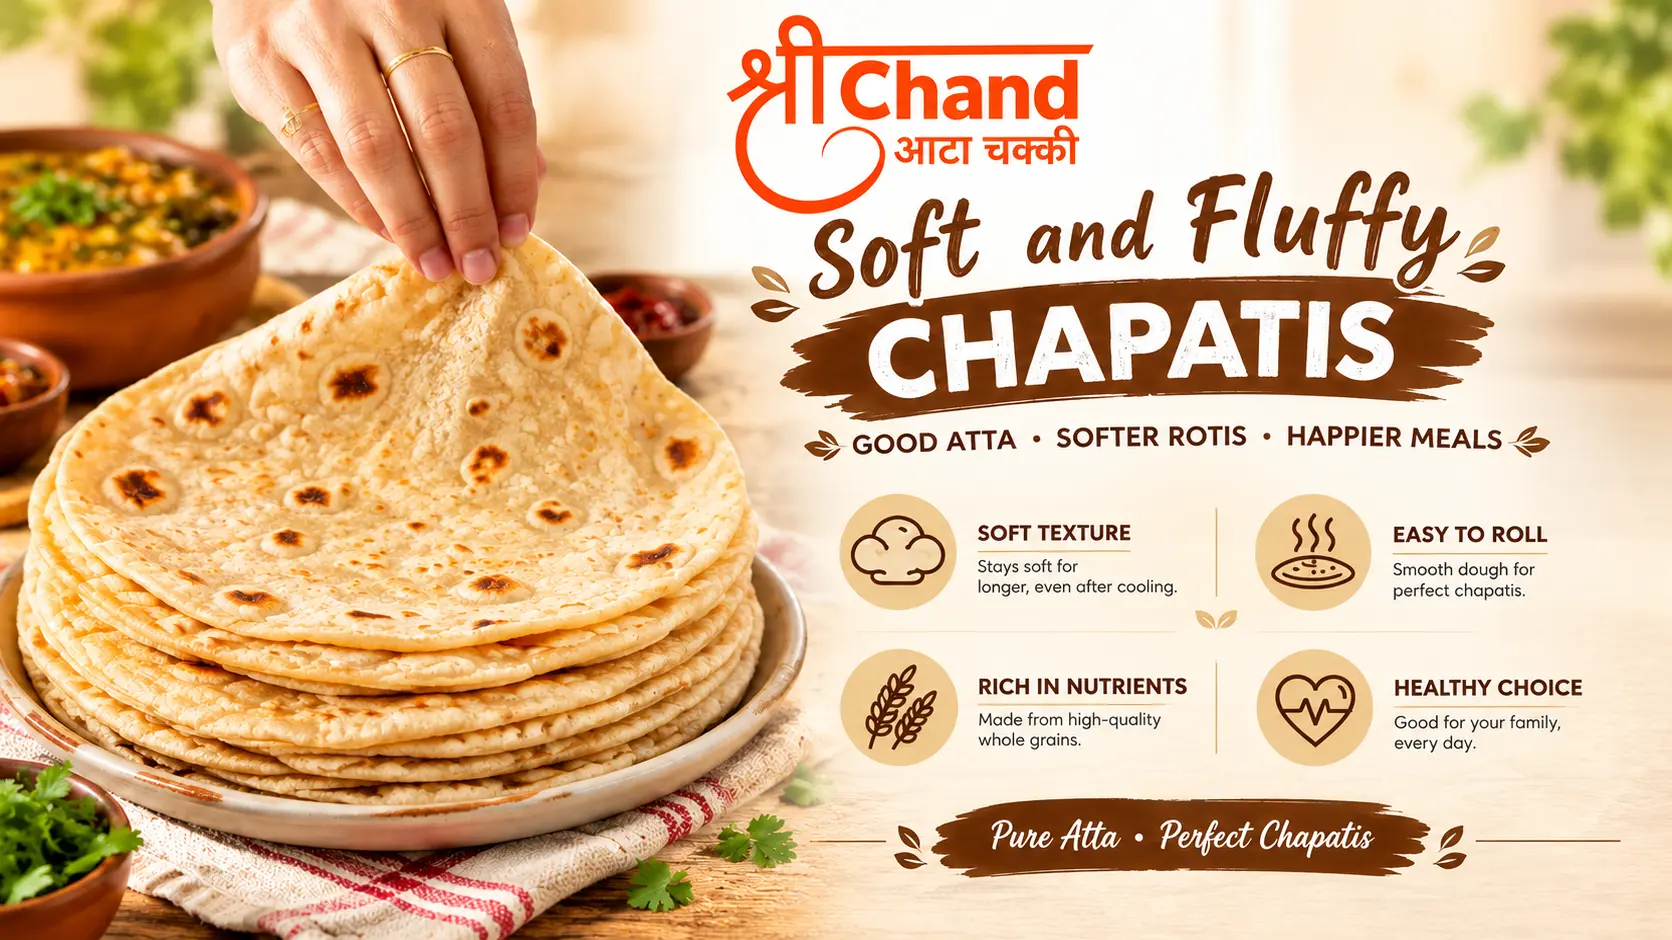
The biggest factors behind soft chapatis are fresh, good quality whole wheat flour, the right amount of water in the dough, enough kneading to develop gluten, a proper resting period before rolling, even rolling thickness, the right tawa heat, and covering cooked rotis to trap steam. Get these right together and soft, fluffy chapatis become consistent rather than occasional.
1. Start with fresh, good quality whole wheat flour
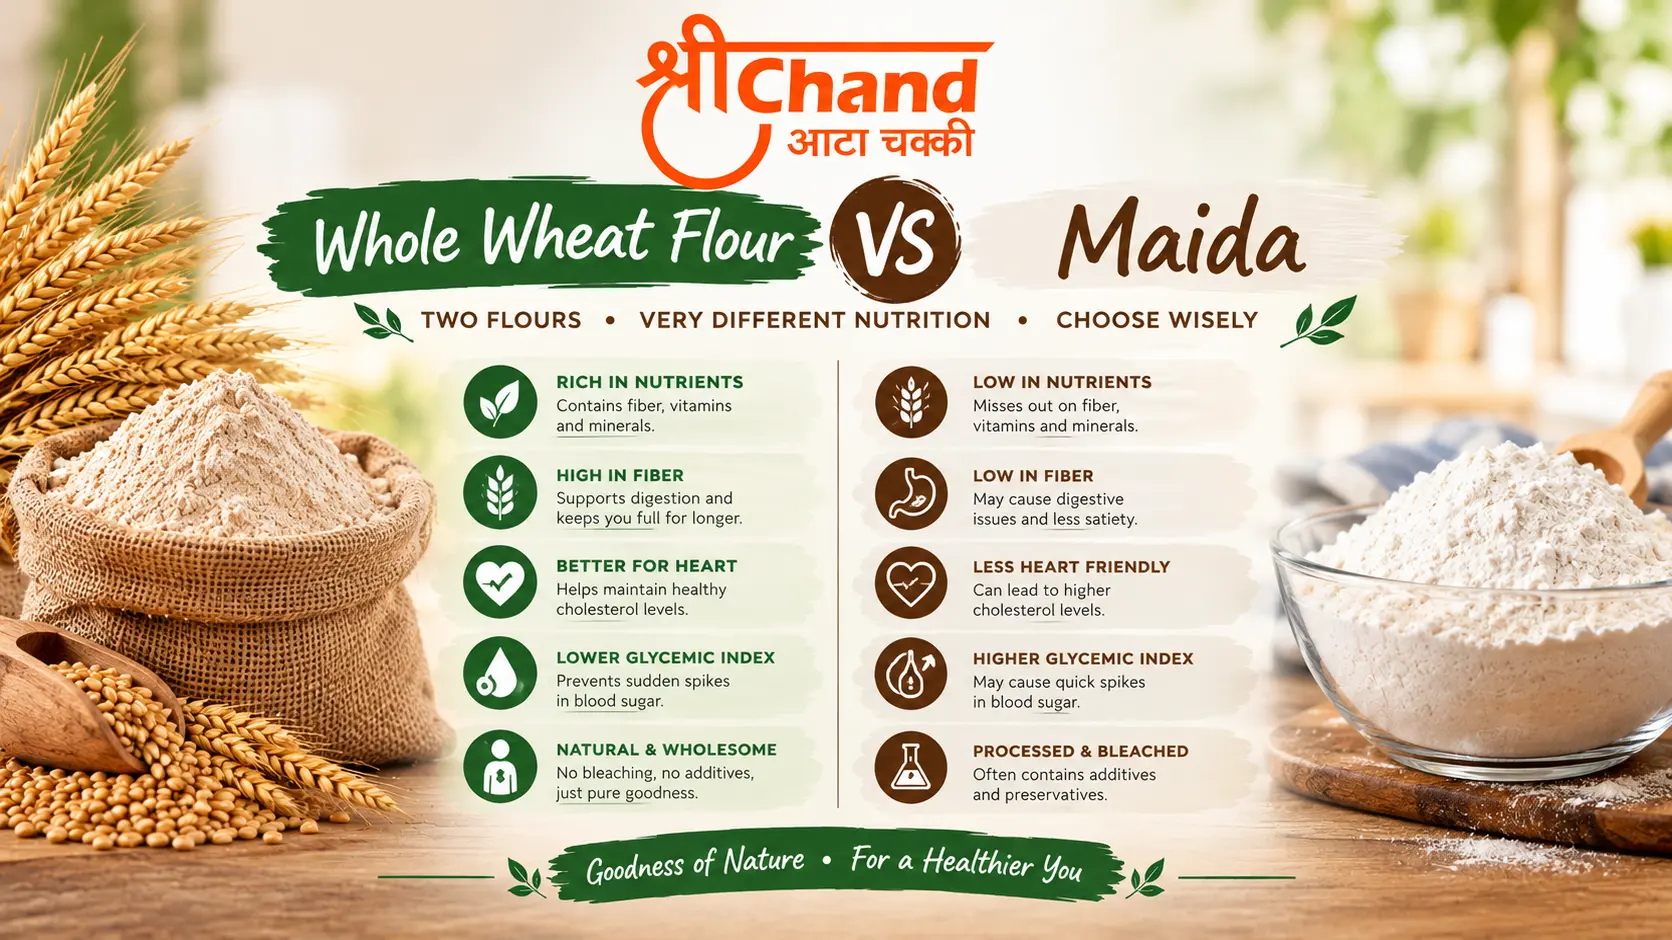
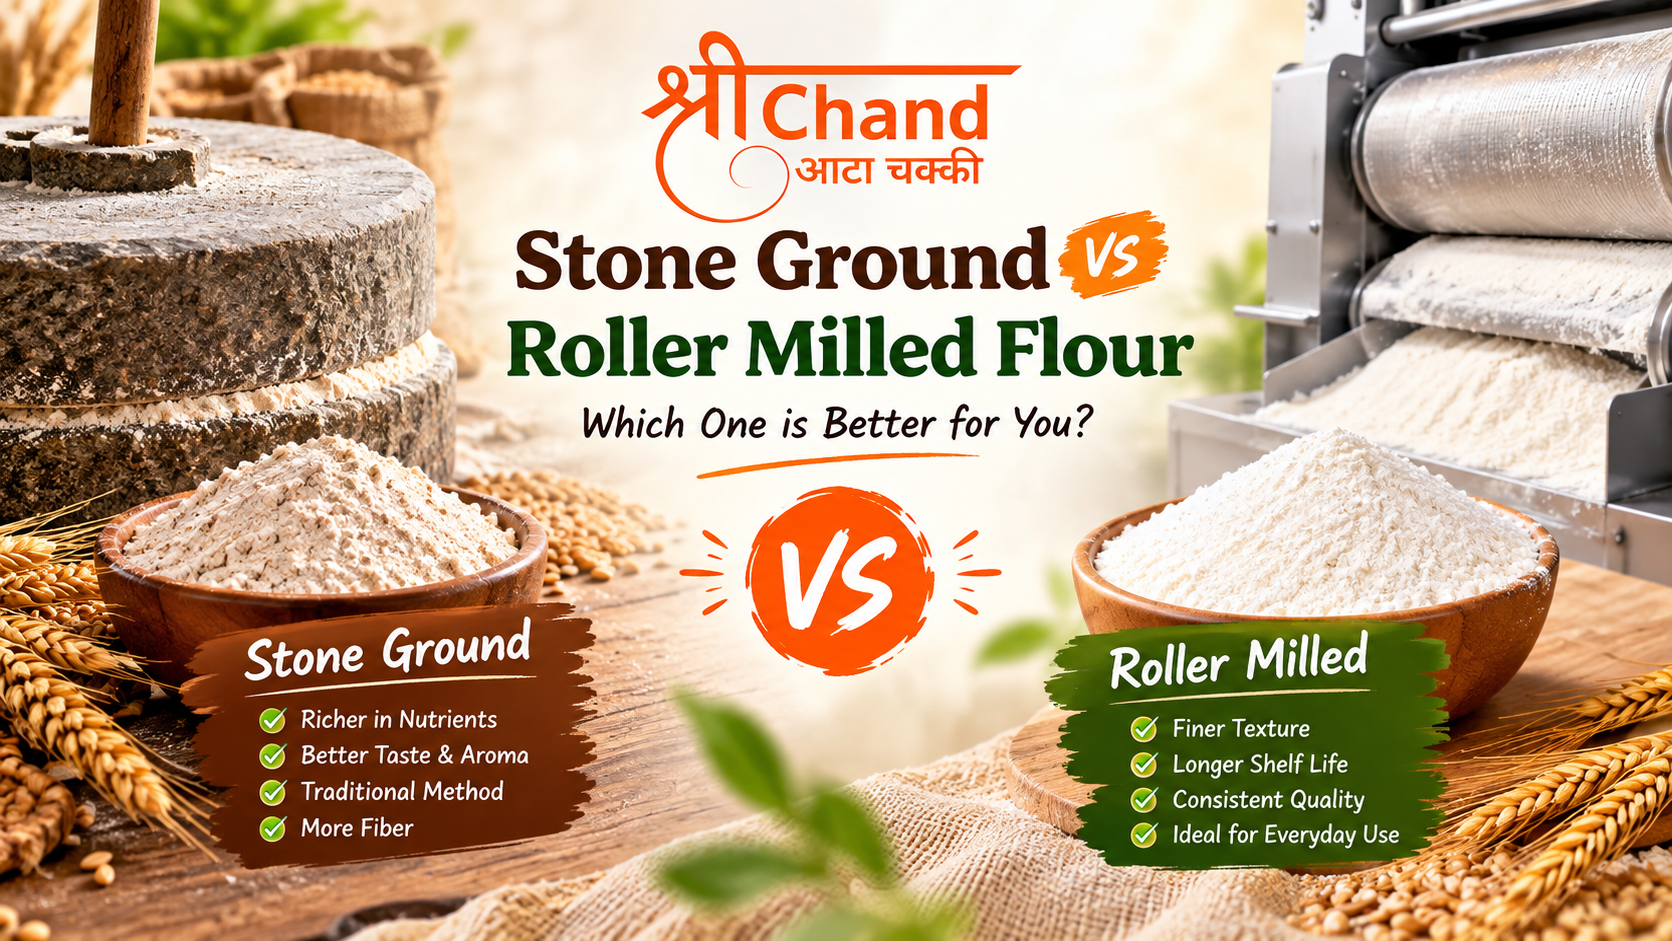
Flour quality sets the ceiling for how soft your chapatis can turn out, regardless of technique. Fresh whole wheat atta retains more of its natural moisture and oils than flour that has been sitting on a shelf for months, and those oils directly affect how pliable the dough becomes. Stone ground, or chakki, atta tends to have an edge here, since the slow, low heat milling process preserves more of this natural character compared to fast roller milling. Our guide to chakki atta benefits covers exactly why this matters, and fresh atta versus packaged atta explains how to judge freshness before you buy.
2. Use warm water, not cold
Many people default to cold water out of habit, but warm water, not hot, helps the flour hydrate more evenly and speeds up gluten development slightly, resulting in a smoother, more elastic dough. The water should be comfortably warm to the touch, not scalding, since very hot water can affect the dough texture in the opposite direction.
3. Add water gradually, not all at once
Pouring all the water in at the start often leads to a dough that is either too dry or unexpectedly sticky, since flour absorbs water at different rates depending on freshness, grind and even the day's humidity. Adding water in small amounts while mixing, and adjusting as you go, gives you far more control over the final dough consistency than guessing at the start.
4. Knead longer than feels necessary
Kneading is where gluten actually develops, and gluten is what gives dough the elasticity needed to roll thin and puff up properly on the tawa. Most people stop kneading too early, as soon as the dough looks roughly combined. Continuing to knead for a full five to eight minutes, pressing and folding with the heel of your hand, produces a noticeably smoother, more elastic dough than a quick two minute mix.
5. Keep the dough soft, slightly tacky
A common mistake is making the dough too stiff, often out of a fear of it being too sticky to handle. Chapati dough should actually be on the softer side, slightly tacky to the touch but not sticking heavily to your hands once properly kneaded. A stiffer dough is harder to roll thin evenly and tends to produce drier, less pliable rotis.
6. Always rest the dough before rolling
This is one of the most skipped steps, and one of the most important. Resting the kneaded dough for at least twenty to thirty minutes, covered with a damp cloth or in a sealed container, allows the gluten strands to relax and the flour to fully absorb the water. Rolling dough immediately after kneading, without resting, is one of the most common reasons chapatis turn out stiff rather than soft, even when the flour and kneading were done correctly.
7. Roll with even pressure and even thickness
Uneven rolling is a quieter cause of hard chapatis than most people expect. If one part of the dough is rolled thinner than another, the thinner section cooks and potentially burns before the thicker section is properly done, leading to a chapati that is soft in some spots and tough in others. Rolling from the centre outward with consistent, even pressure, rotating the dough as you go, produces a more uniform thickness across the whole roti.
8. Use the right amount of dry flour while rolling
A light dusting of dry flour prevents sticking while rolling, but too much dry flour worked into the dough's surface can dry it out and affect how evenly it cooks and puffs. Use just enough to prevent sticking, and brush off excess before placing the chapati on the tawa.
9. Get the tawa heat right, and time the flip correctly
A tawa that is too hot will dry and potentially burn the surface before the inside is properly cooked. One that is too cool leads to a dense, undercooked roti that never puffs properly. Medium high heat is generally the right range for most home stoves. The chapati should be flipped once small bubbles start to appear on the surface, then briefly cooked on the other side before being moved to direct flame or pressed gently on the tawa to encourage it to puff up fully.
10. Cover chapatis immediately after cooking
Even a well made chapati can turn hard within minutes if left uncovered to cool on an open plate. Stacking cooked rotis in a covered container, a roti box, or wrapped in a clean cloth traps a small amount of steam, which keeps the surface soft for much longer than leaving them exposed to open air.
A quick summary checklist
- Use fresh, good quality whole wheat flour, ideally stone ground
- Use warm, not cold, water
- Add water gradually while mixing
- Knead for a full five to eight minutes
- Keep the dough soft and slightly tacky, not stiff
- Rest the dough for at least twenty to thirty minutes, covered
- Roll evenly from the centre outward
- Use minimal dry flour while rolling
- Cook on medium high heat and flip at the right moment
- Cover cooked rotis immediately to trap steam
Why flour choice still matters most
Technique can only take you so far if the flour itself has lost its natural moisture and oils over time. Fresh whole wheat atta, particularly stone ground flour milled recently, gives you the best starting point for soft rotis, since it retains more of the natural qualities that make dough pliable in the first place. Our guide on which flour makes the softest chapatis goes deeper into exactly what to look for in a flour, beyond just the brand name on the bag.
Once you have good flour, how you store it at home also matters, since even quality atta can lose its edge if left exposed to air and heat for too long. See how to store flour properly for the habits that help protect that freshness between purchase and use.
Common mistakes that undo good technique
- Using old, stale flour even while following every other tip correctly. Check does flour expire if you are unsure whether an older bag is still worth using.
- Rushing the resting period or skipping it entirely to save time.
- Over-flouring the rolling surface, which dries out the dough's outer layer unevenly.
- Cooking on heat that is either too high or too low, both of which prevent proper puffing.
- Leaving cooked rotis uncovered, undoing the softness achieved through every earlier step.
Frequently asked questions
Why do my chapatis turn hard after a few minutes? This is usually because cooked rotis were left uncovered, allowing steam to escape and the surface to dry out quickly. Covering chapatis immediately in a container or cloth traps steam and keeps them soft for much longer.
How long should chapati dough rest before rolling? At least twenty to thirty minutes, covered with a damp cloth or in a sealed container. This allows the gluten to relax and the flour to fully absorb the water, which makes a noticeable difference in softness.
Does the type of flour affect how soft chapatis turn out? Yes, significantly. Fresh, good quality whole wheat flour, ideally stone ground, retains more natural moisture and oils than flour that has been sitting for a long time, which directly affects dough pliability and final softness.
Why don't my chapatis puff up? This is usually due to uneven rolling thickness, dough that is too dry, or tawa heat that is not high enough at the right moment. Even thickness, properly hydrated dough, and medium high heat with a well timed flip all contribute to proper puffing.
Should chapati dough be soft or stiff? Soft, slightly tacky dough generally produces better chapatis than stiff dough. A dough that is too stiff is harder to roll evenly and tends to result in drier, tougher rotis.
How much water should I use for chapati dough? This varies by flour freshness and season, but most whole wheat dough needs slightly more water than people initially expect, added gradually while kneading until the dough feels soft, smooth and only slightly tacky to the touch.
The bottom line
Soft chapatis come down to a chain of small decisions, starting with fresh, good quality flour and continuing through hydration, kneading, resting, rolling and cooking. No single step compensates fully for a mistake in another, which is why consistent results require getting most of these right together, rather than perfecting just one part of the process.
For more on choosing the right flour as your starting point, read which flour makes the softest chapatis next, or explore the full whole wheat flour benefits guide to understand what you are actually working with.